


On this page you will find a bit about the Raspberry Pi construction projects that I enjoy doing.
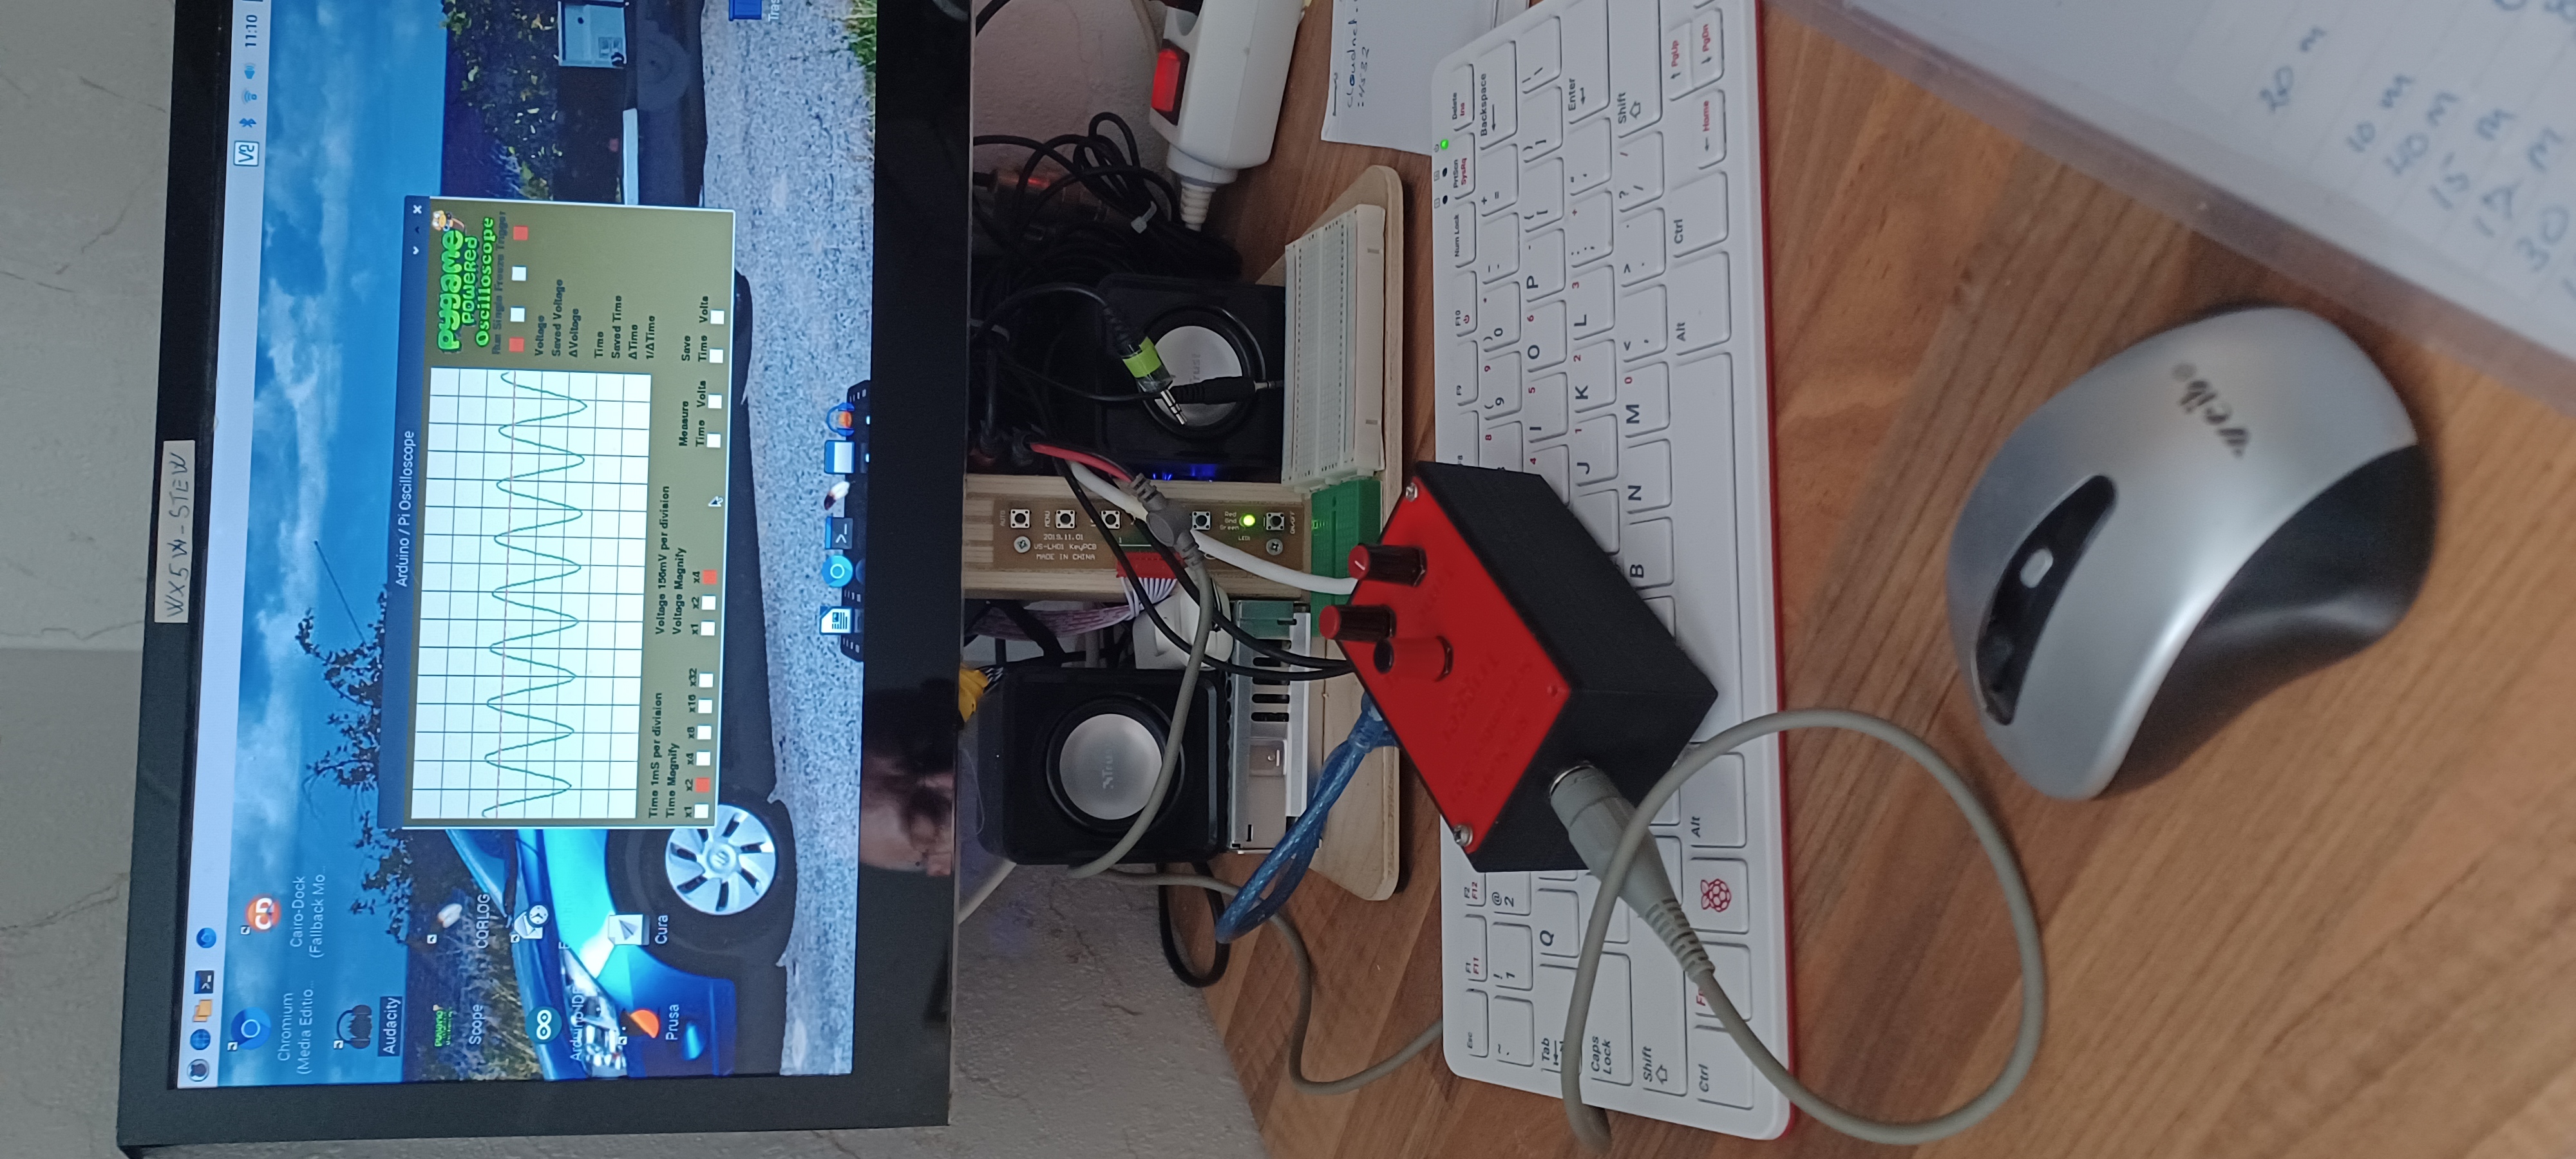
My Raspberry Pi ocilloscope
I found the project in MAGPI 171 from 2018, it is Mike Cook who made this fine article here is some text from the article
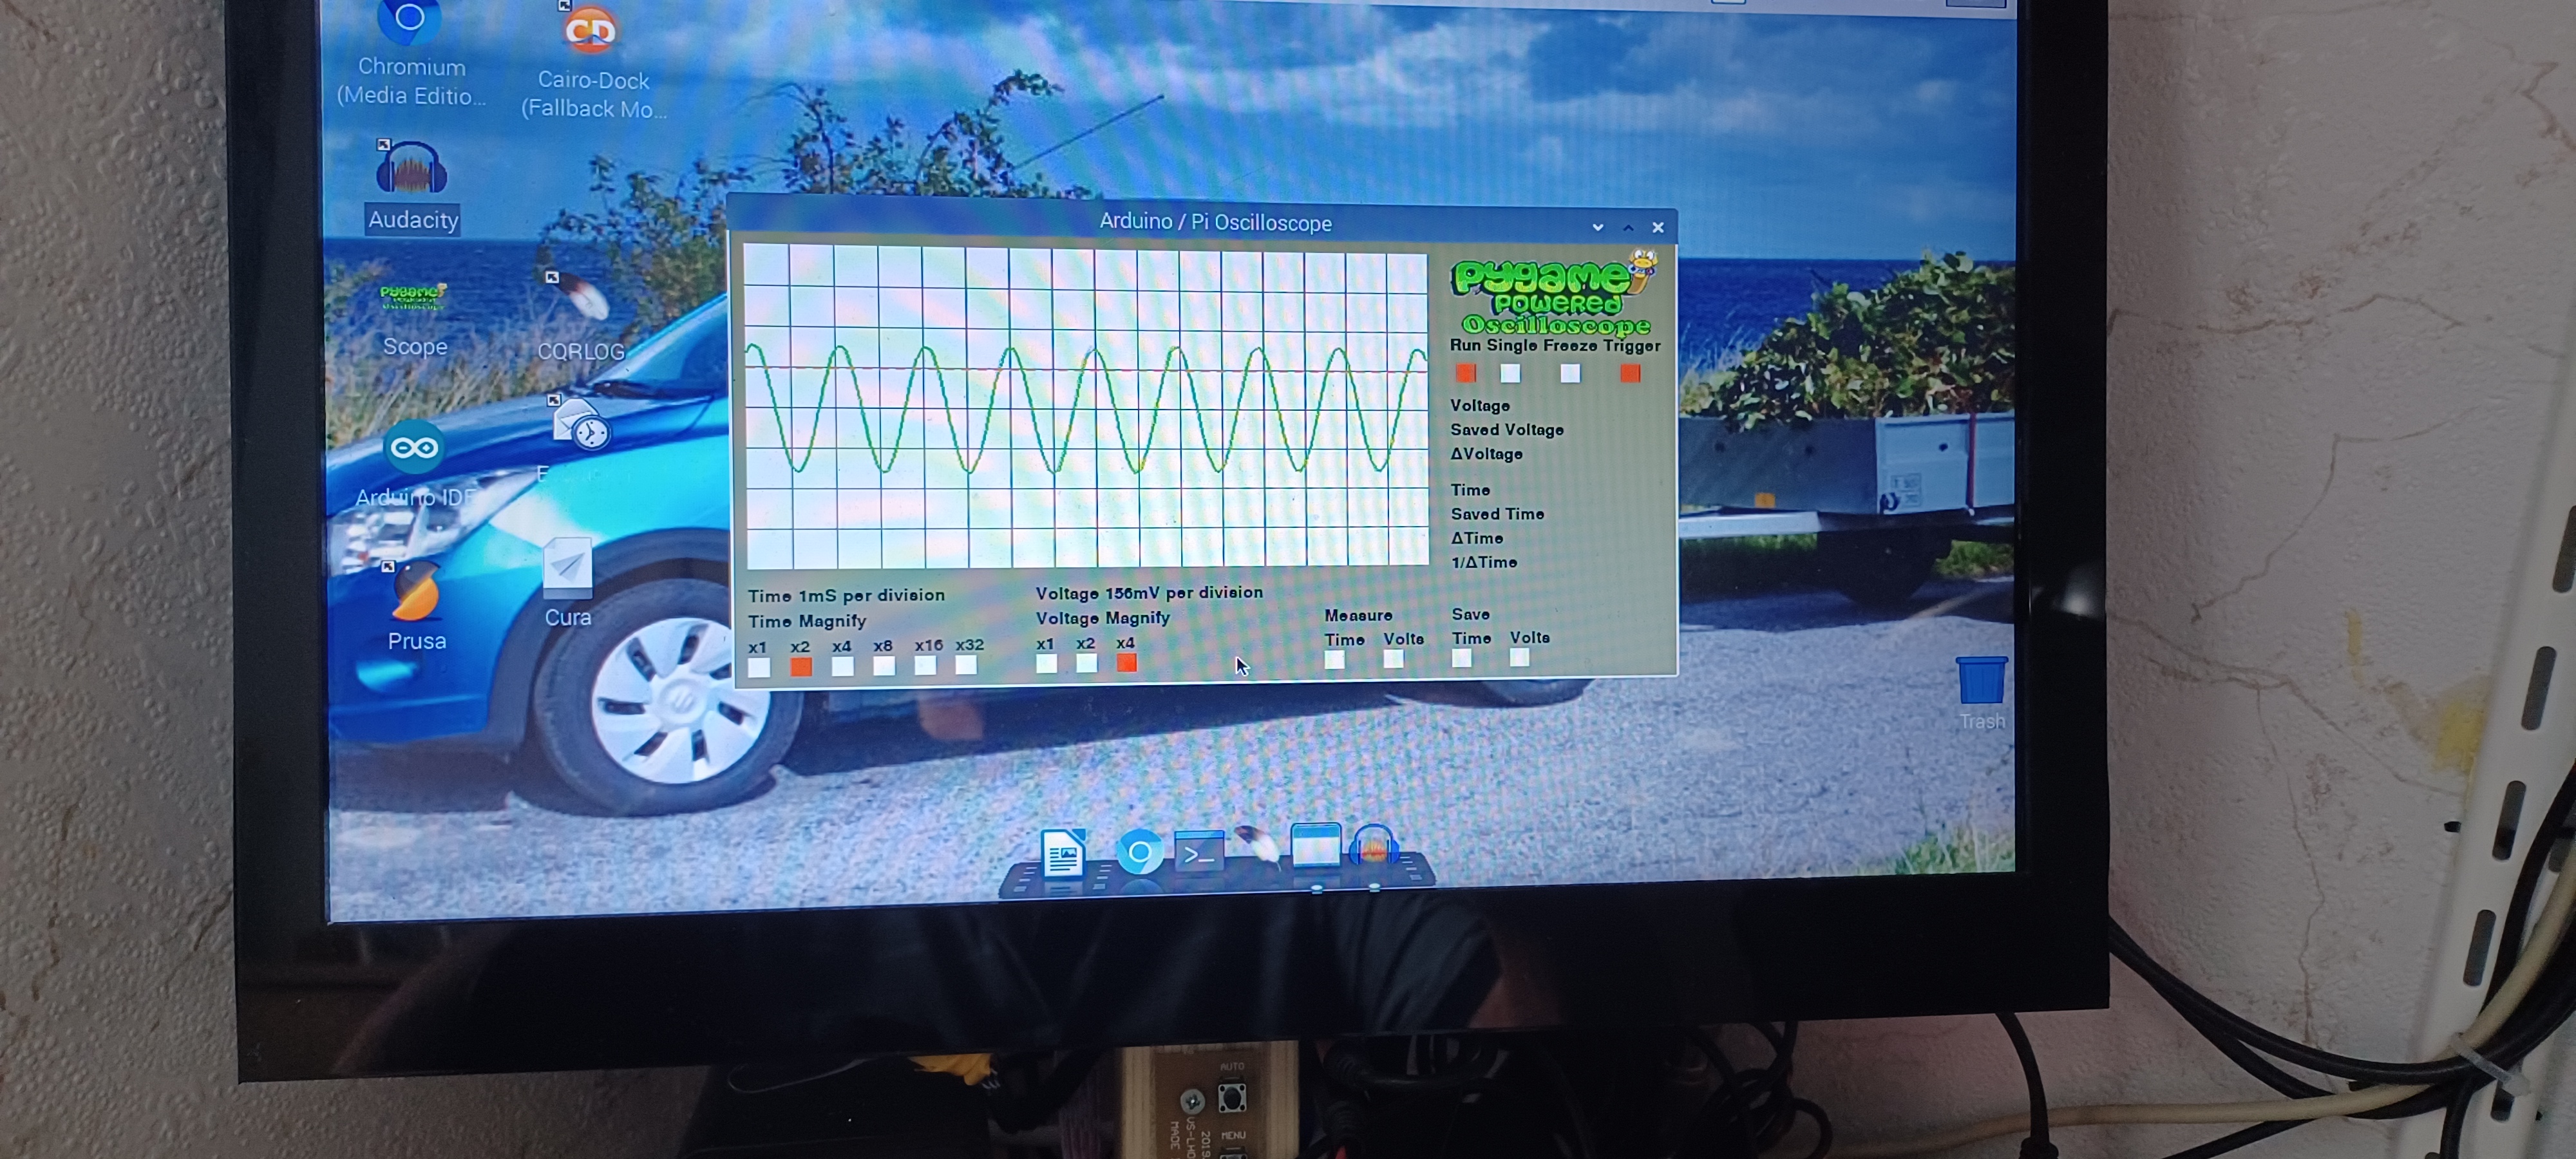
Using the oscilloscope
The oscilloscope samples at 58 kHz, which in theory
means you can measure waveforms at 29 kHz. But
that only gives you two samples per cycle and as
the samples can be anywhere on the waveform,
they do not look very good. As a rough guide, you
need at least ten points on a waveform to make it
look like a waveform, so that gives a top practical
frequency of 5.8 kHz. However, by using the Time
Magnify options along with the freeze function, you
can measure much higher frequencies. The time and
voltage cursor lines let you find out the values on
any point of the waveform, and by clicking the save
functions the current cursor is replaced by a dotted
line which is fixed, and measurements can be made
relative to that.
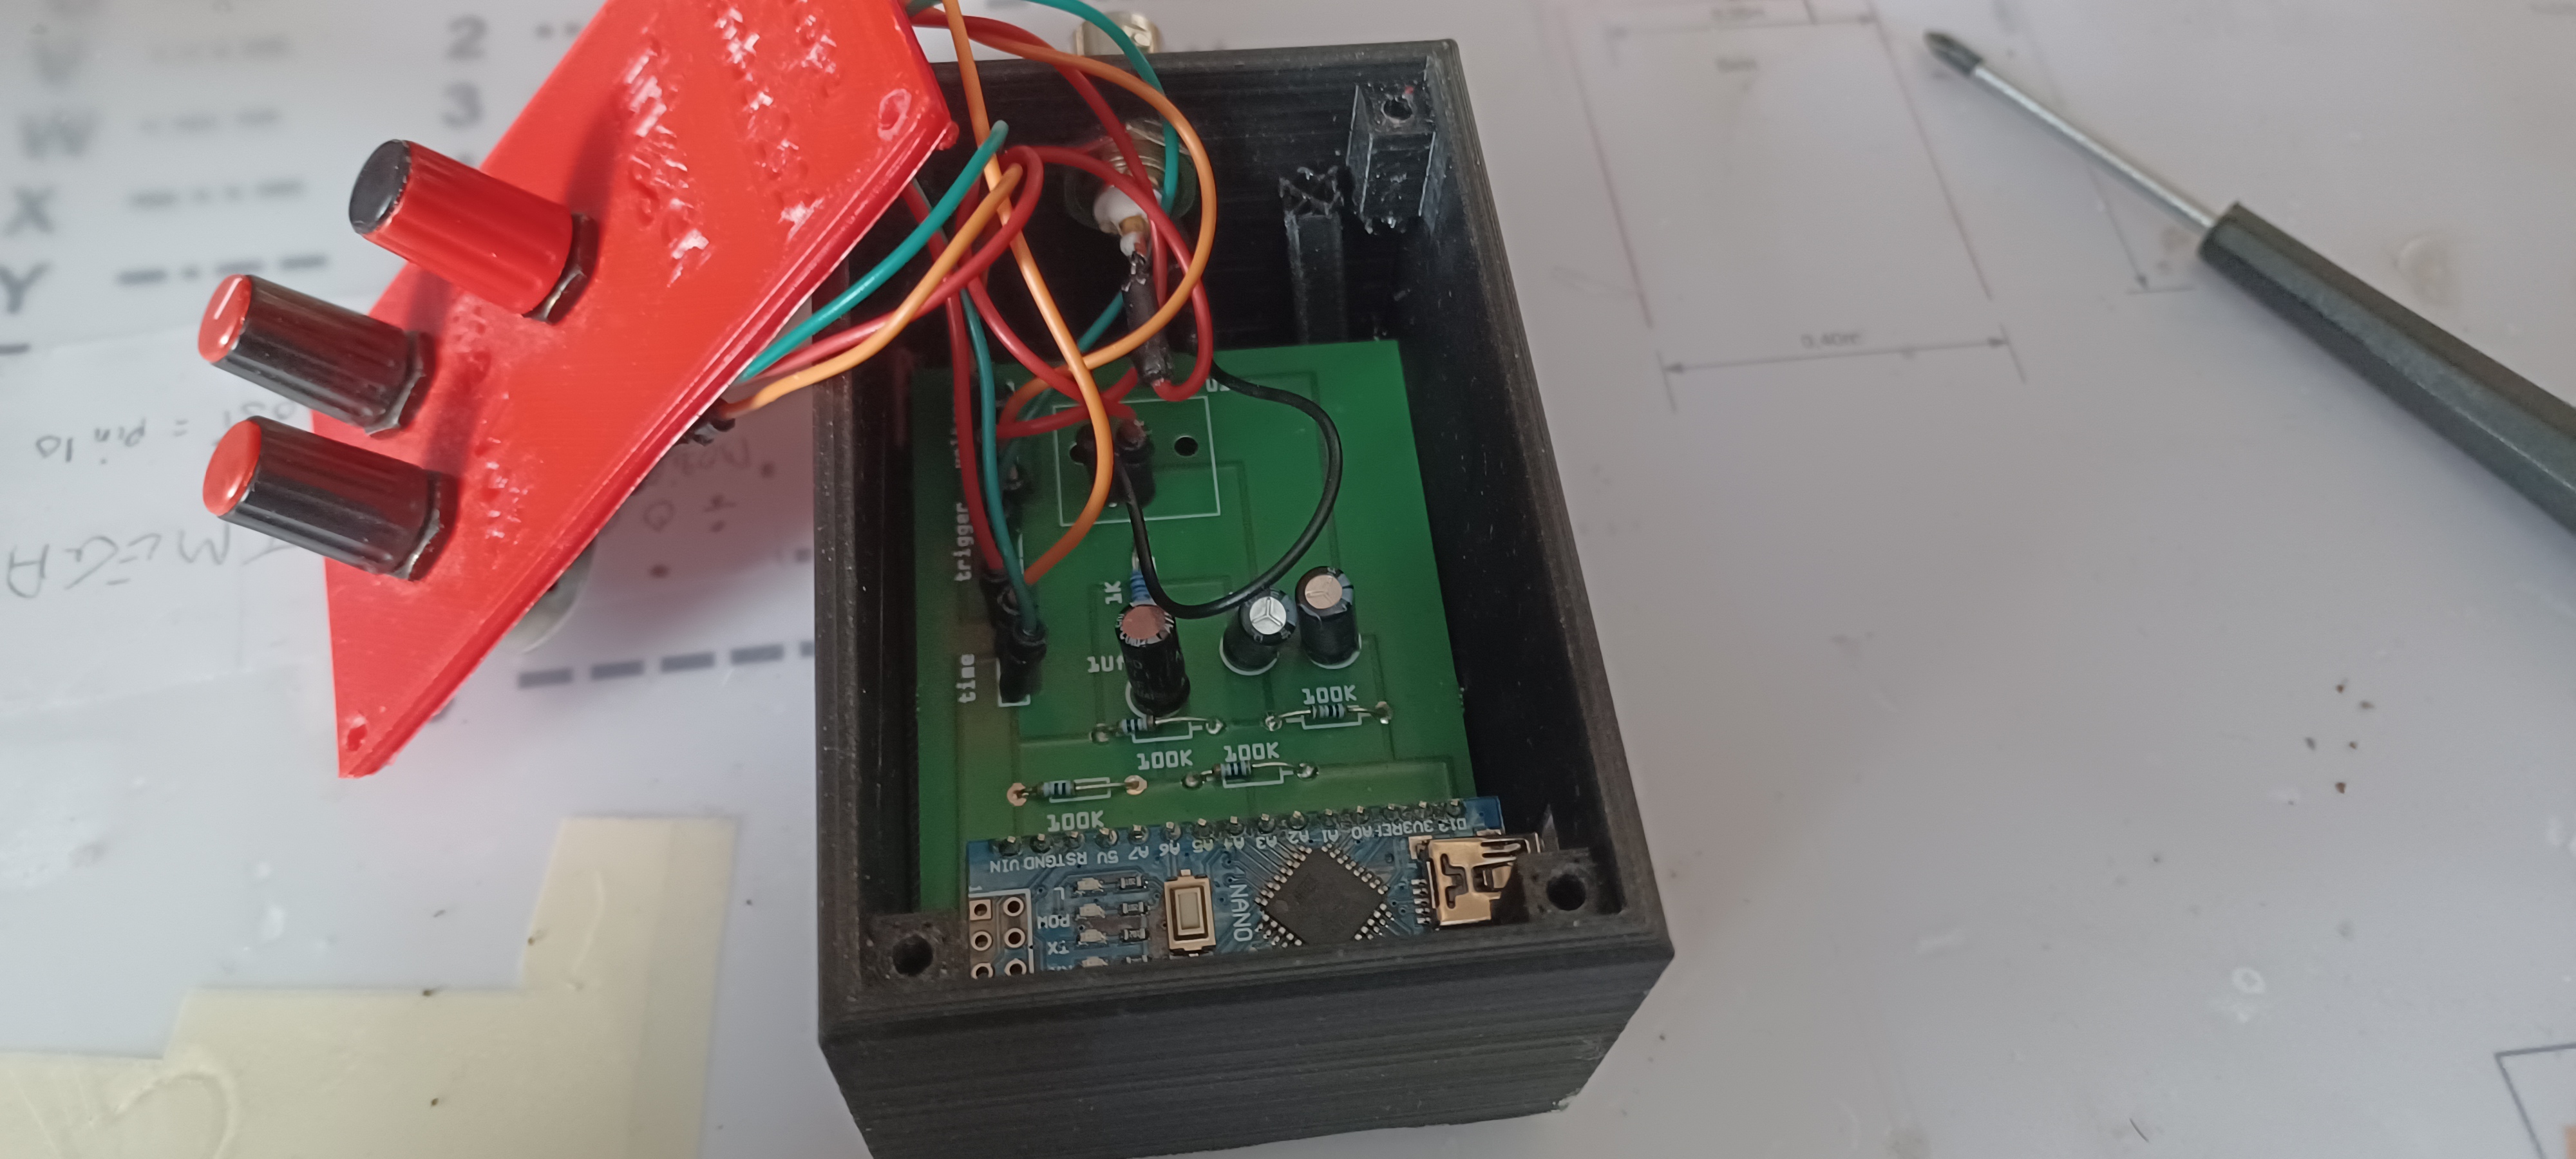
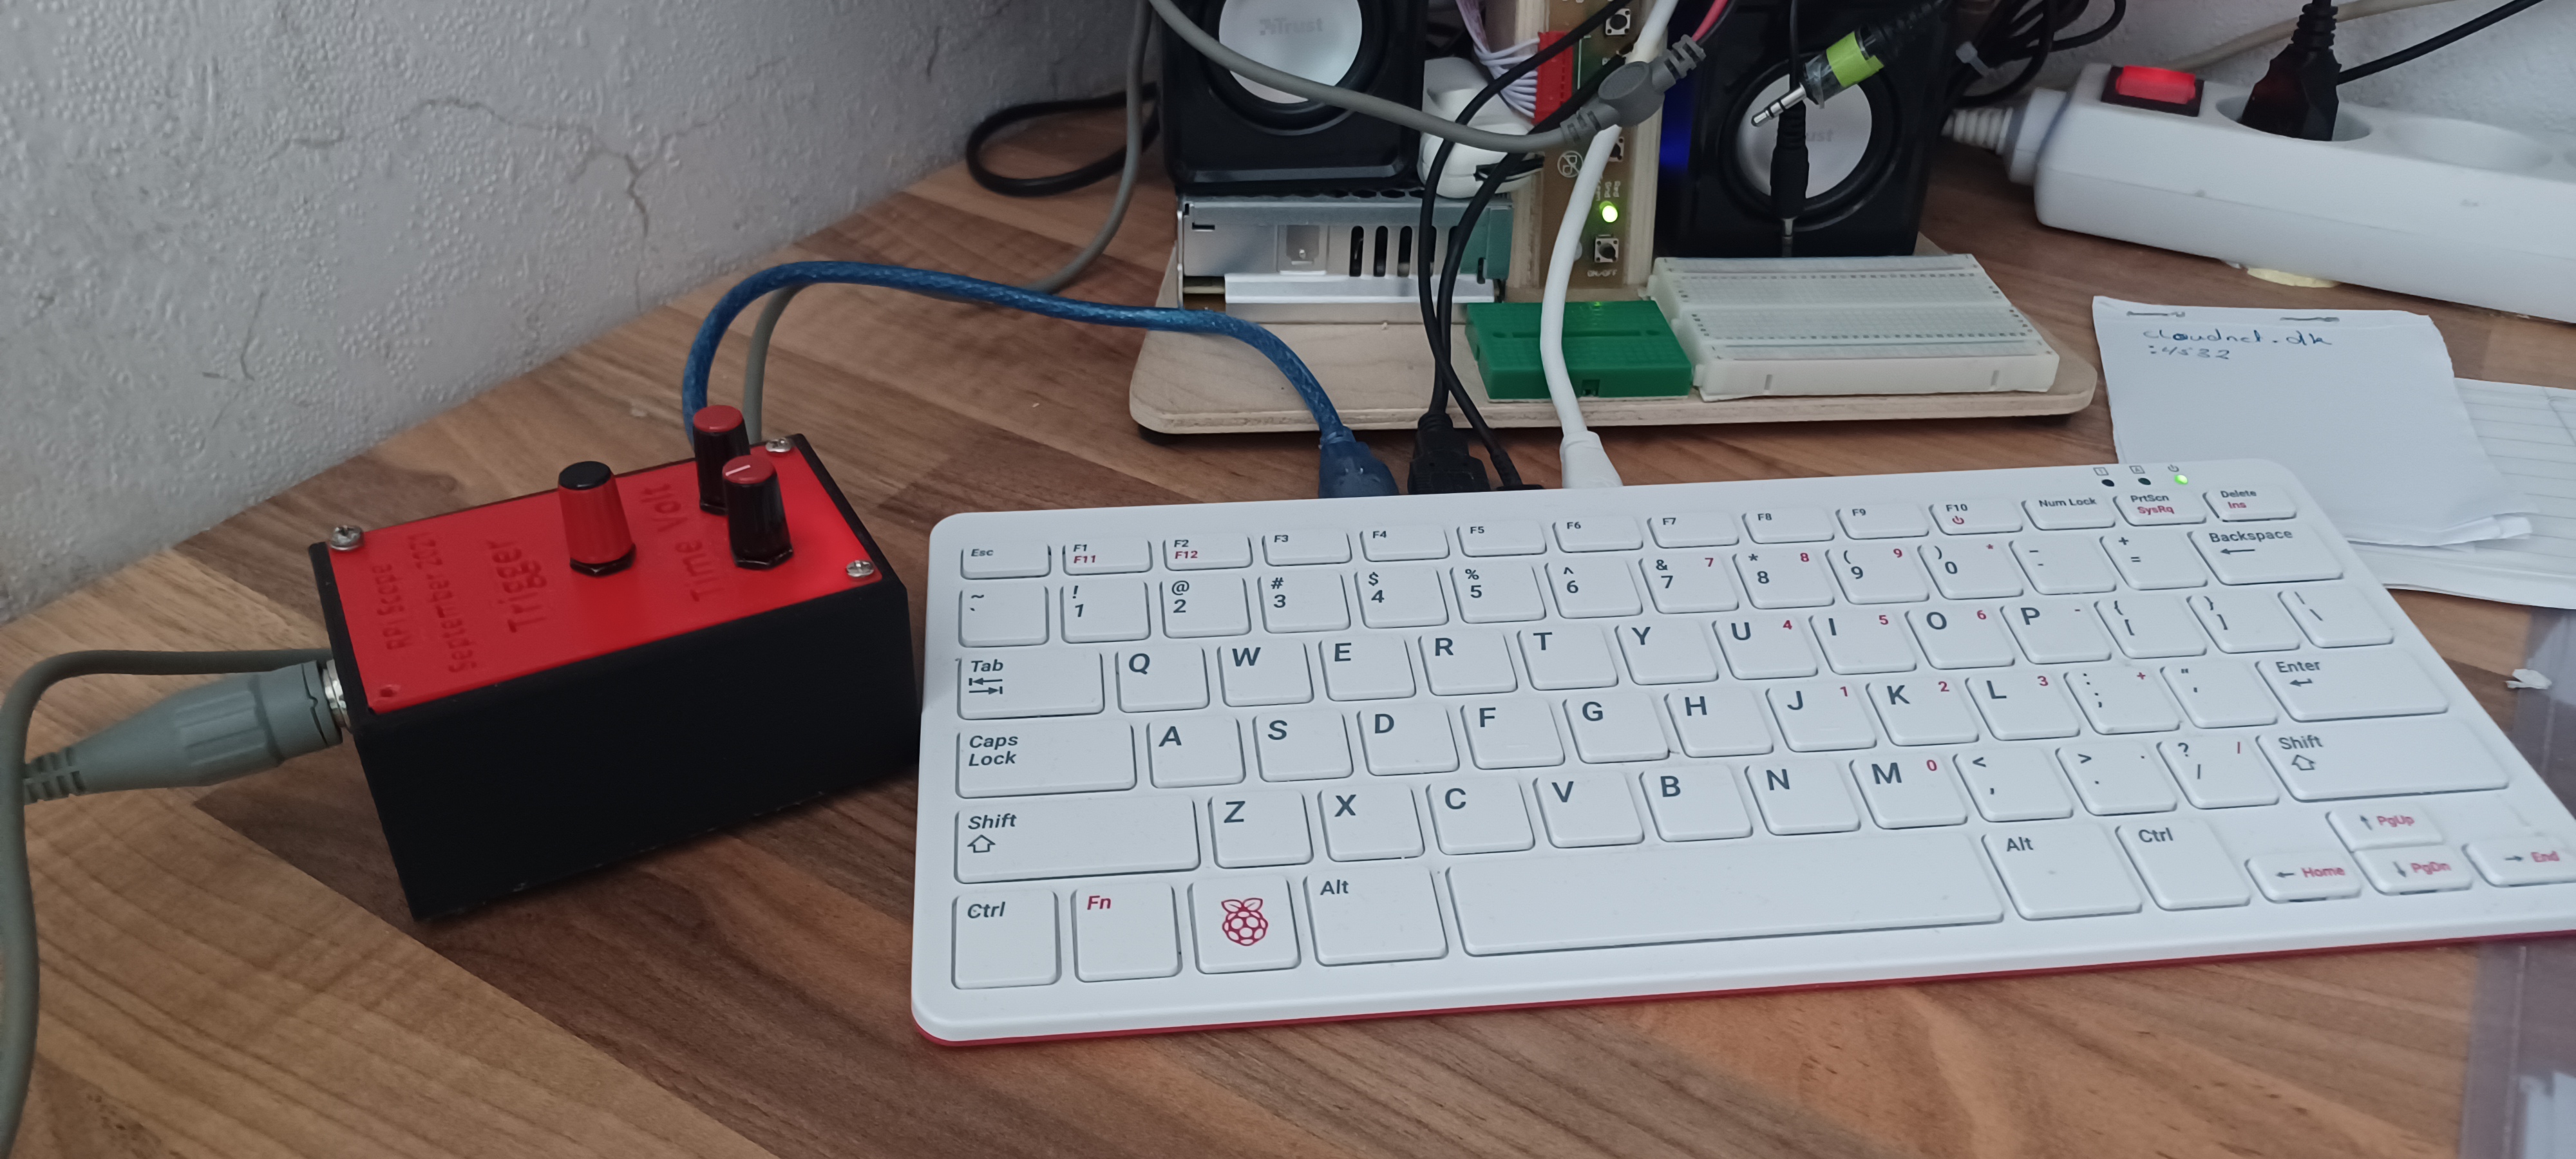
Then I got all the parts 3D printed for my Raspberry pi project, it's for the RPI 400. Then it just has to be assembled.
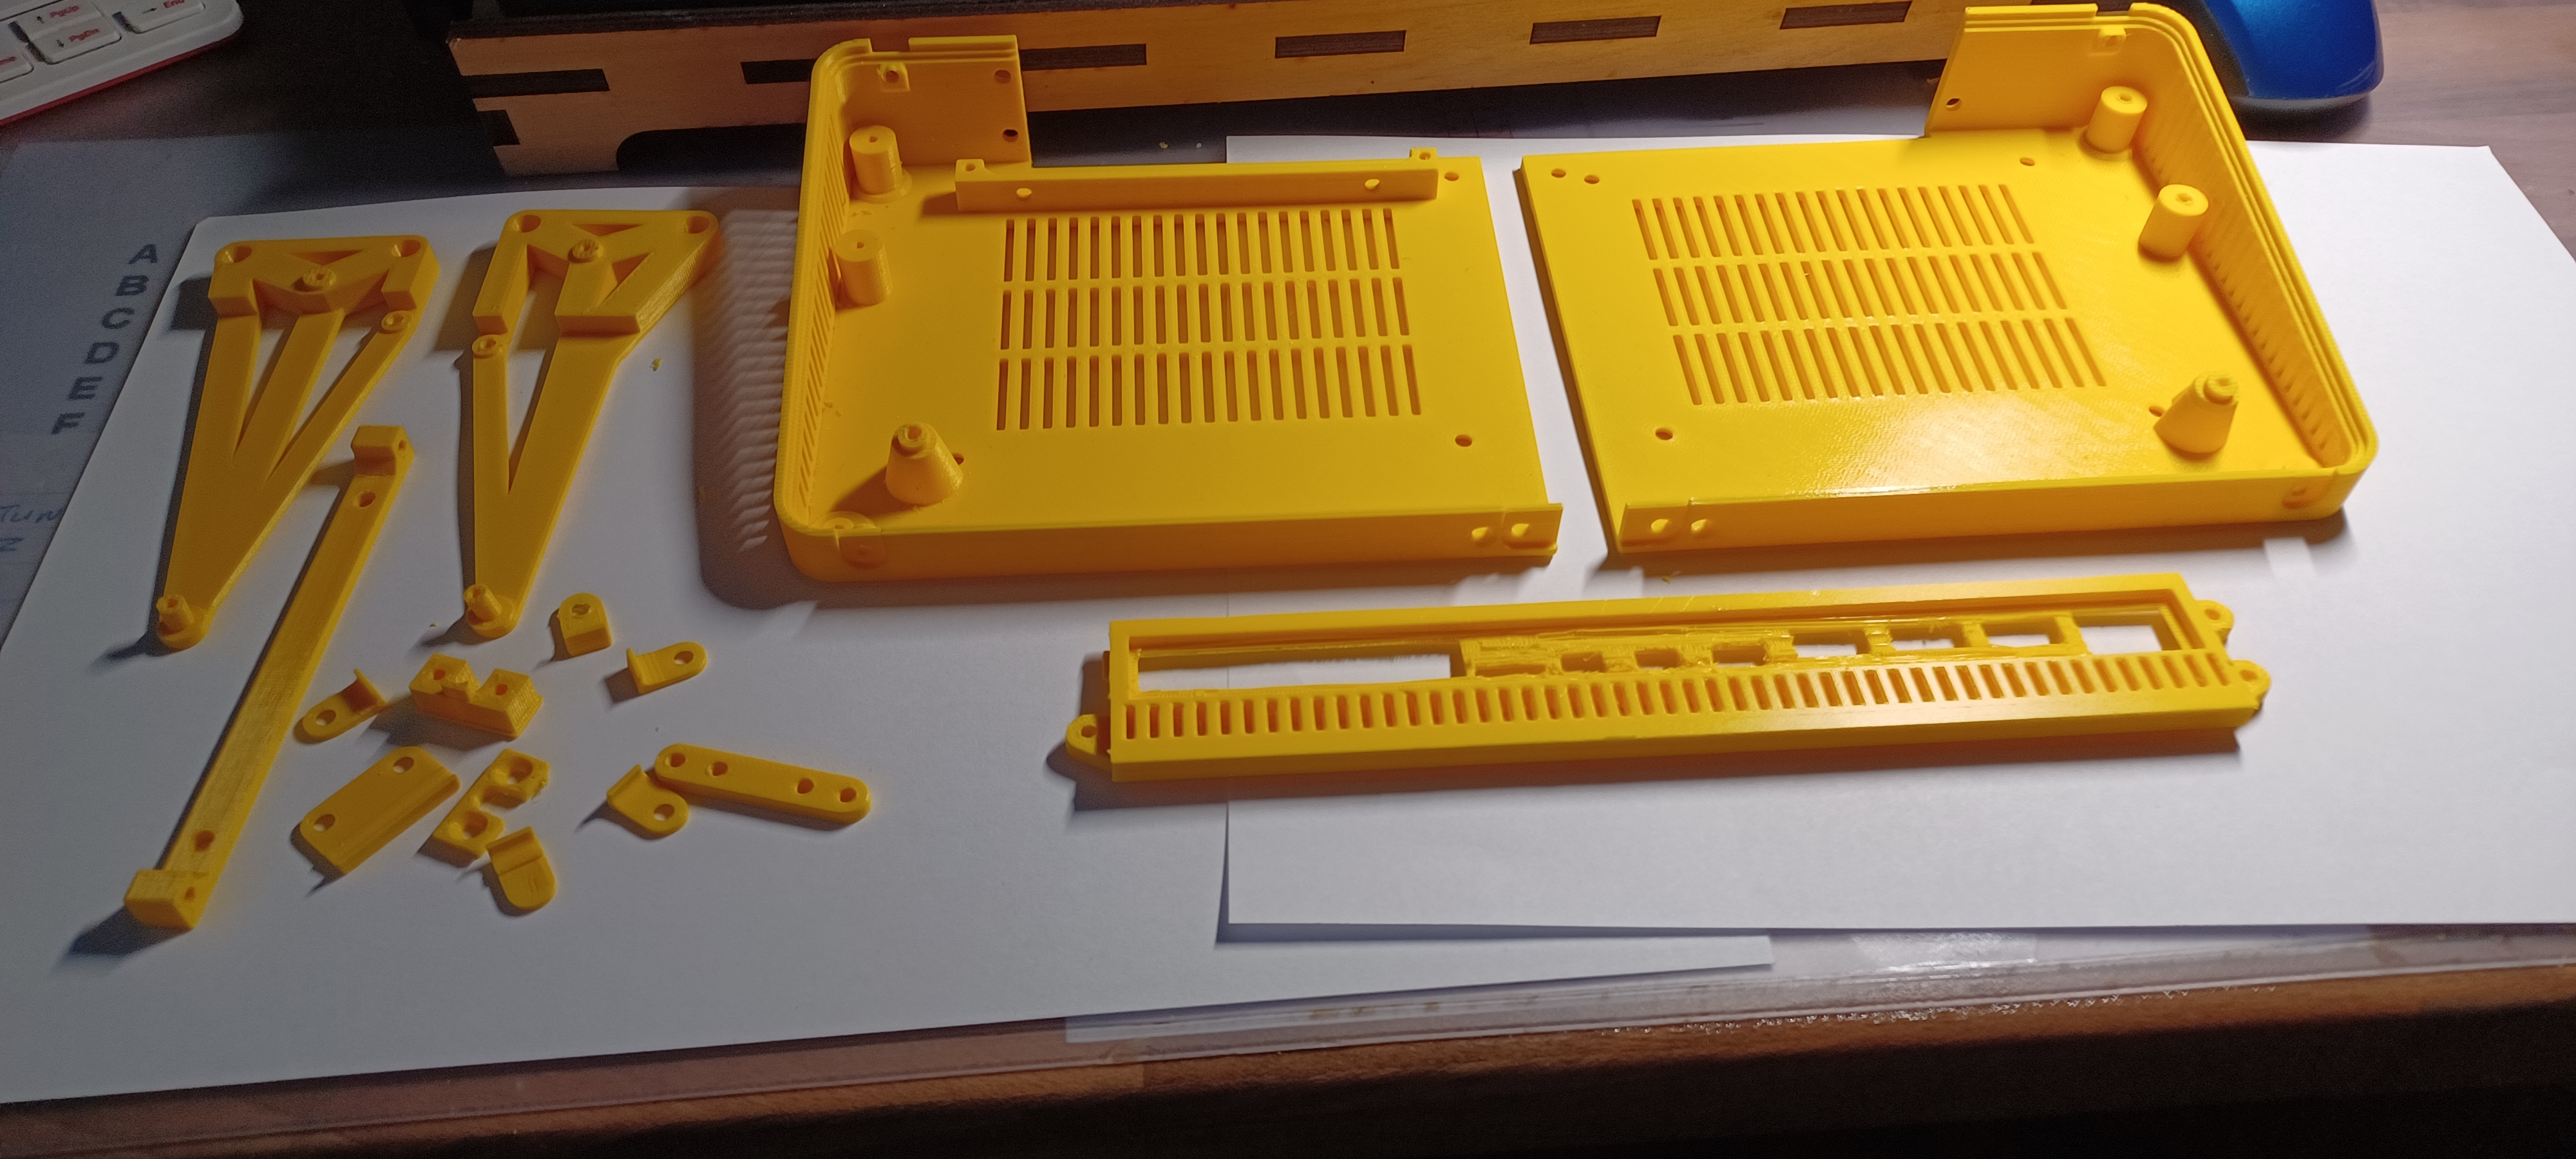
then I got everyone together, it turned out very well I thought.
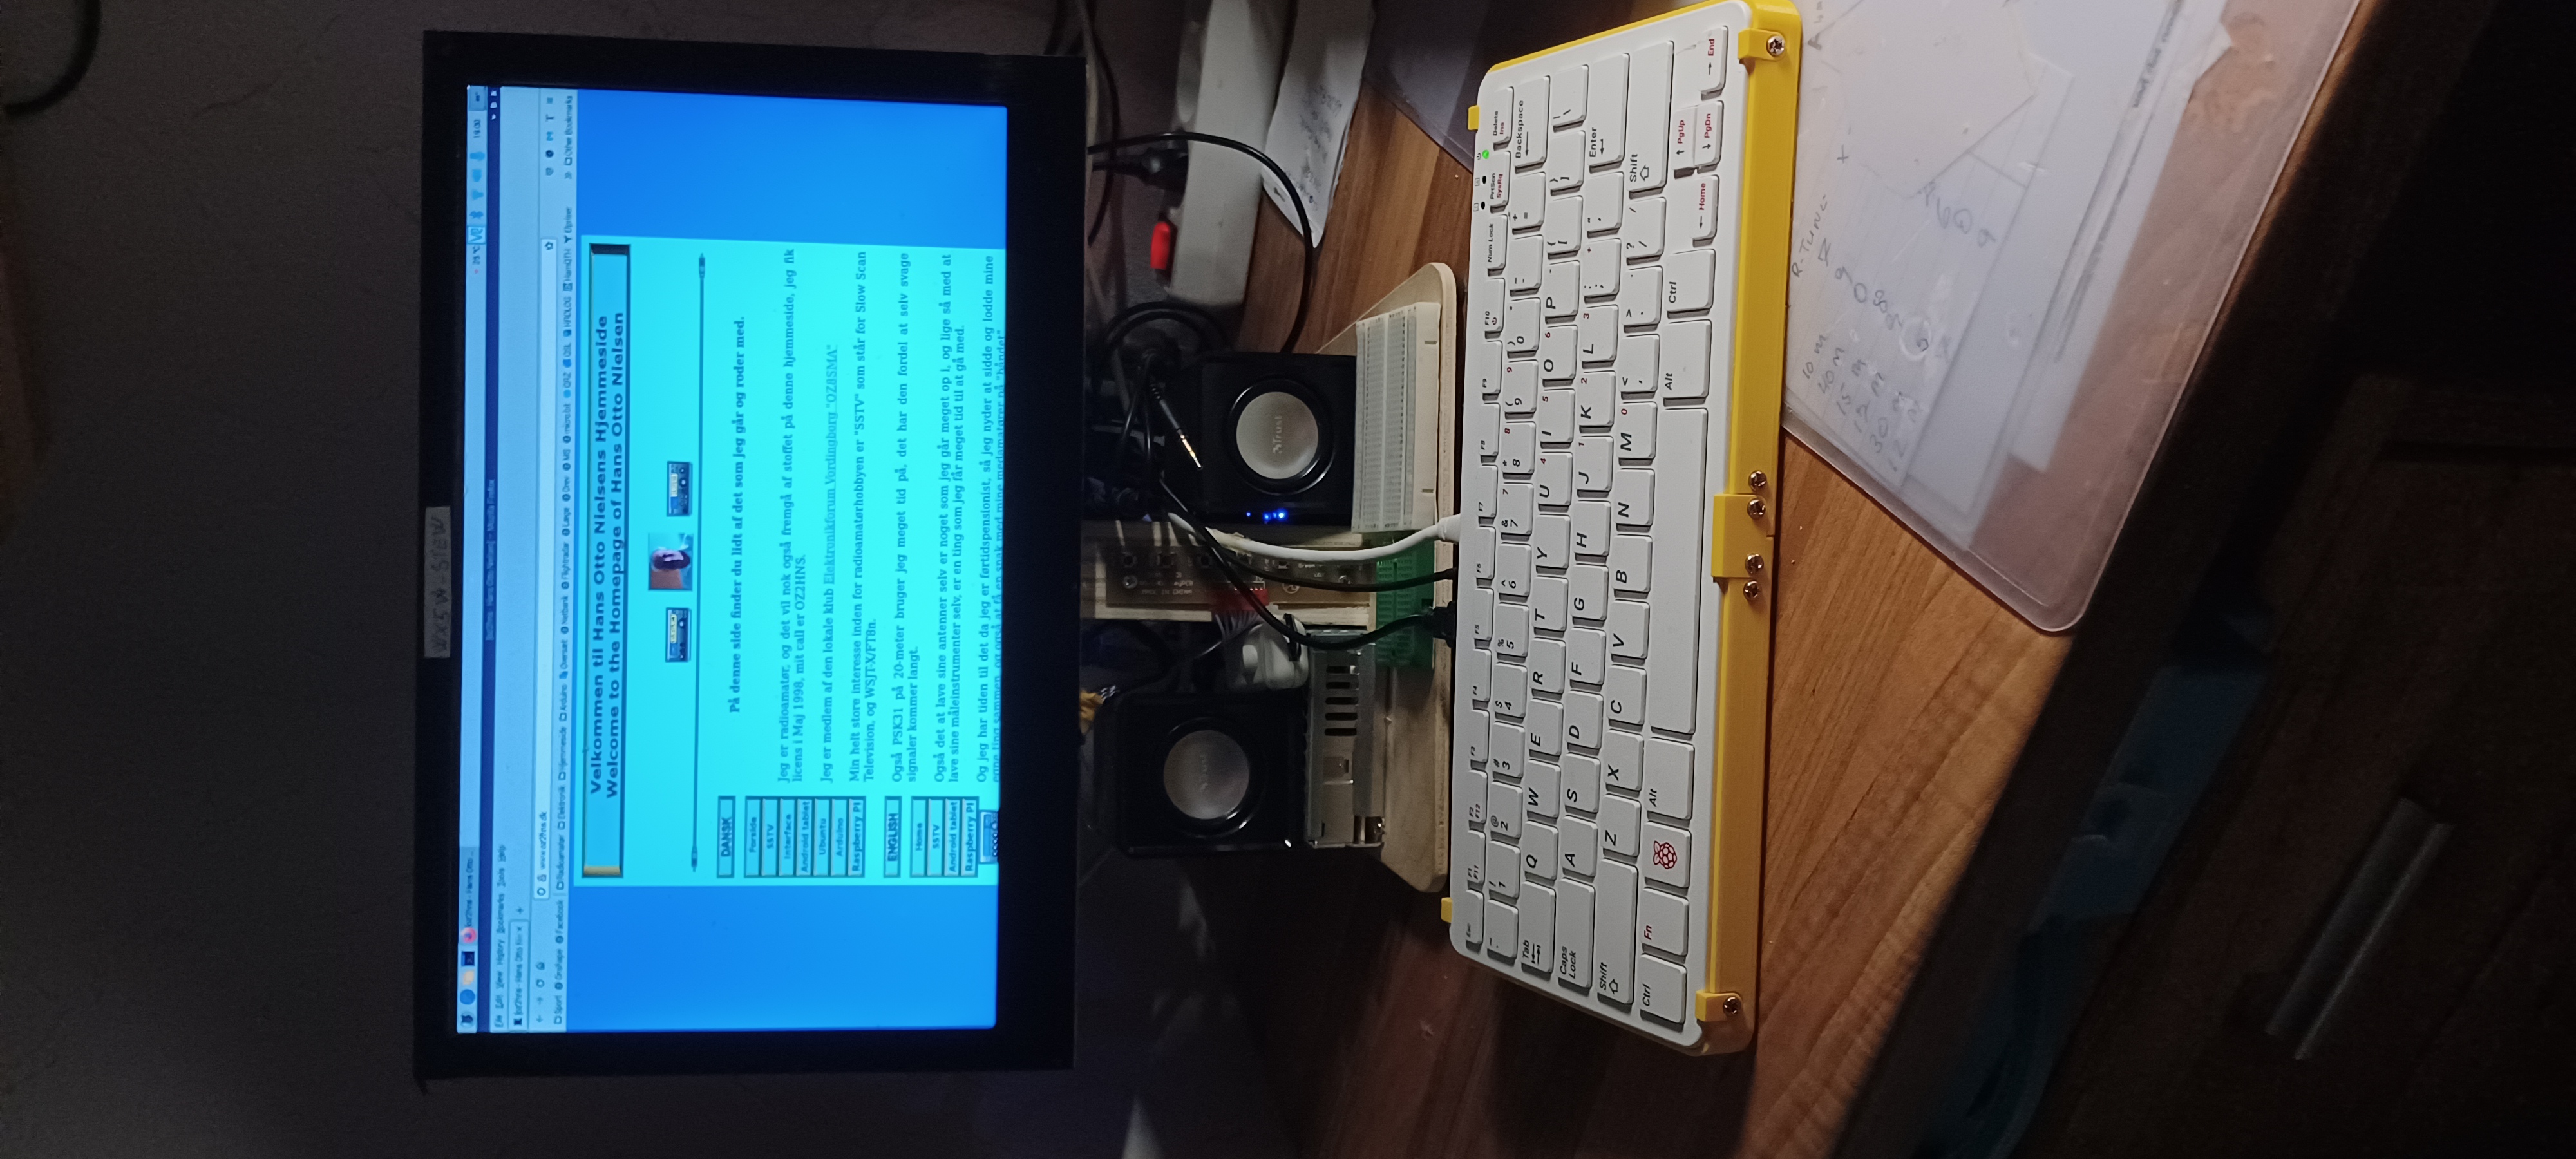
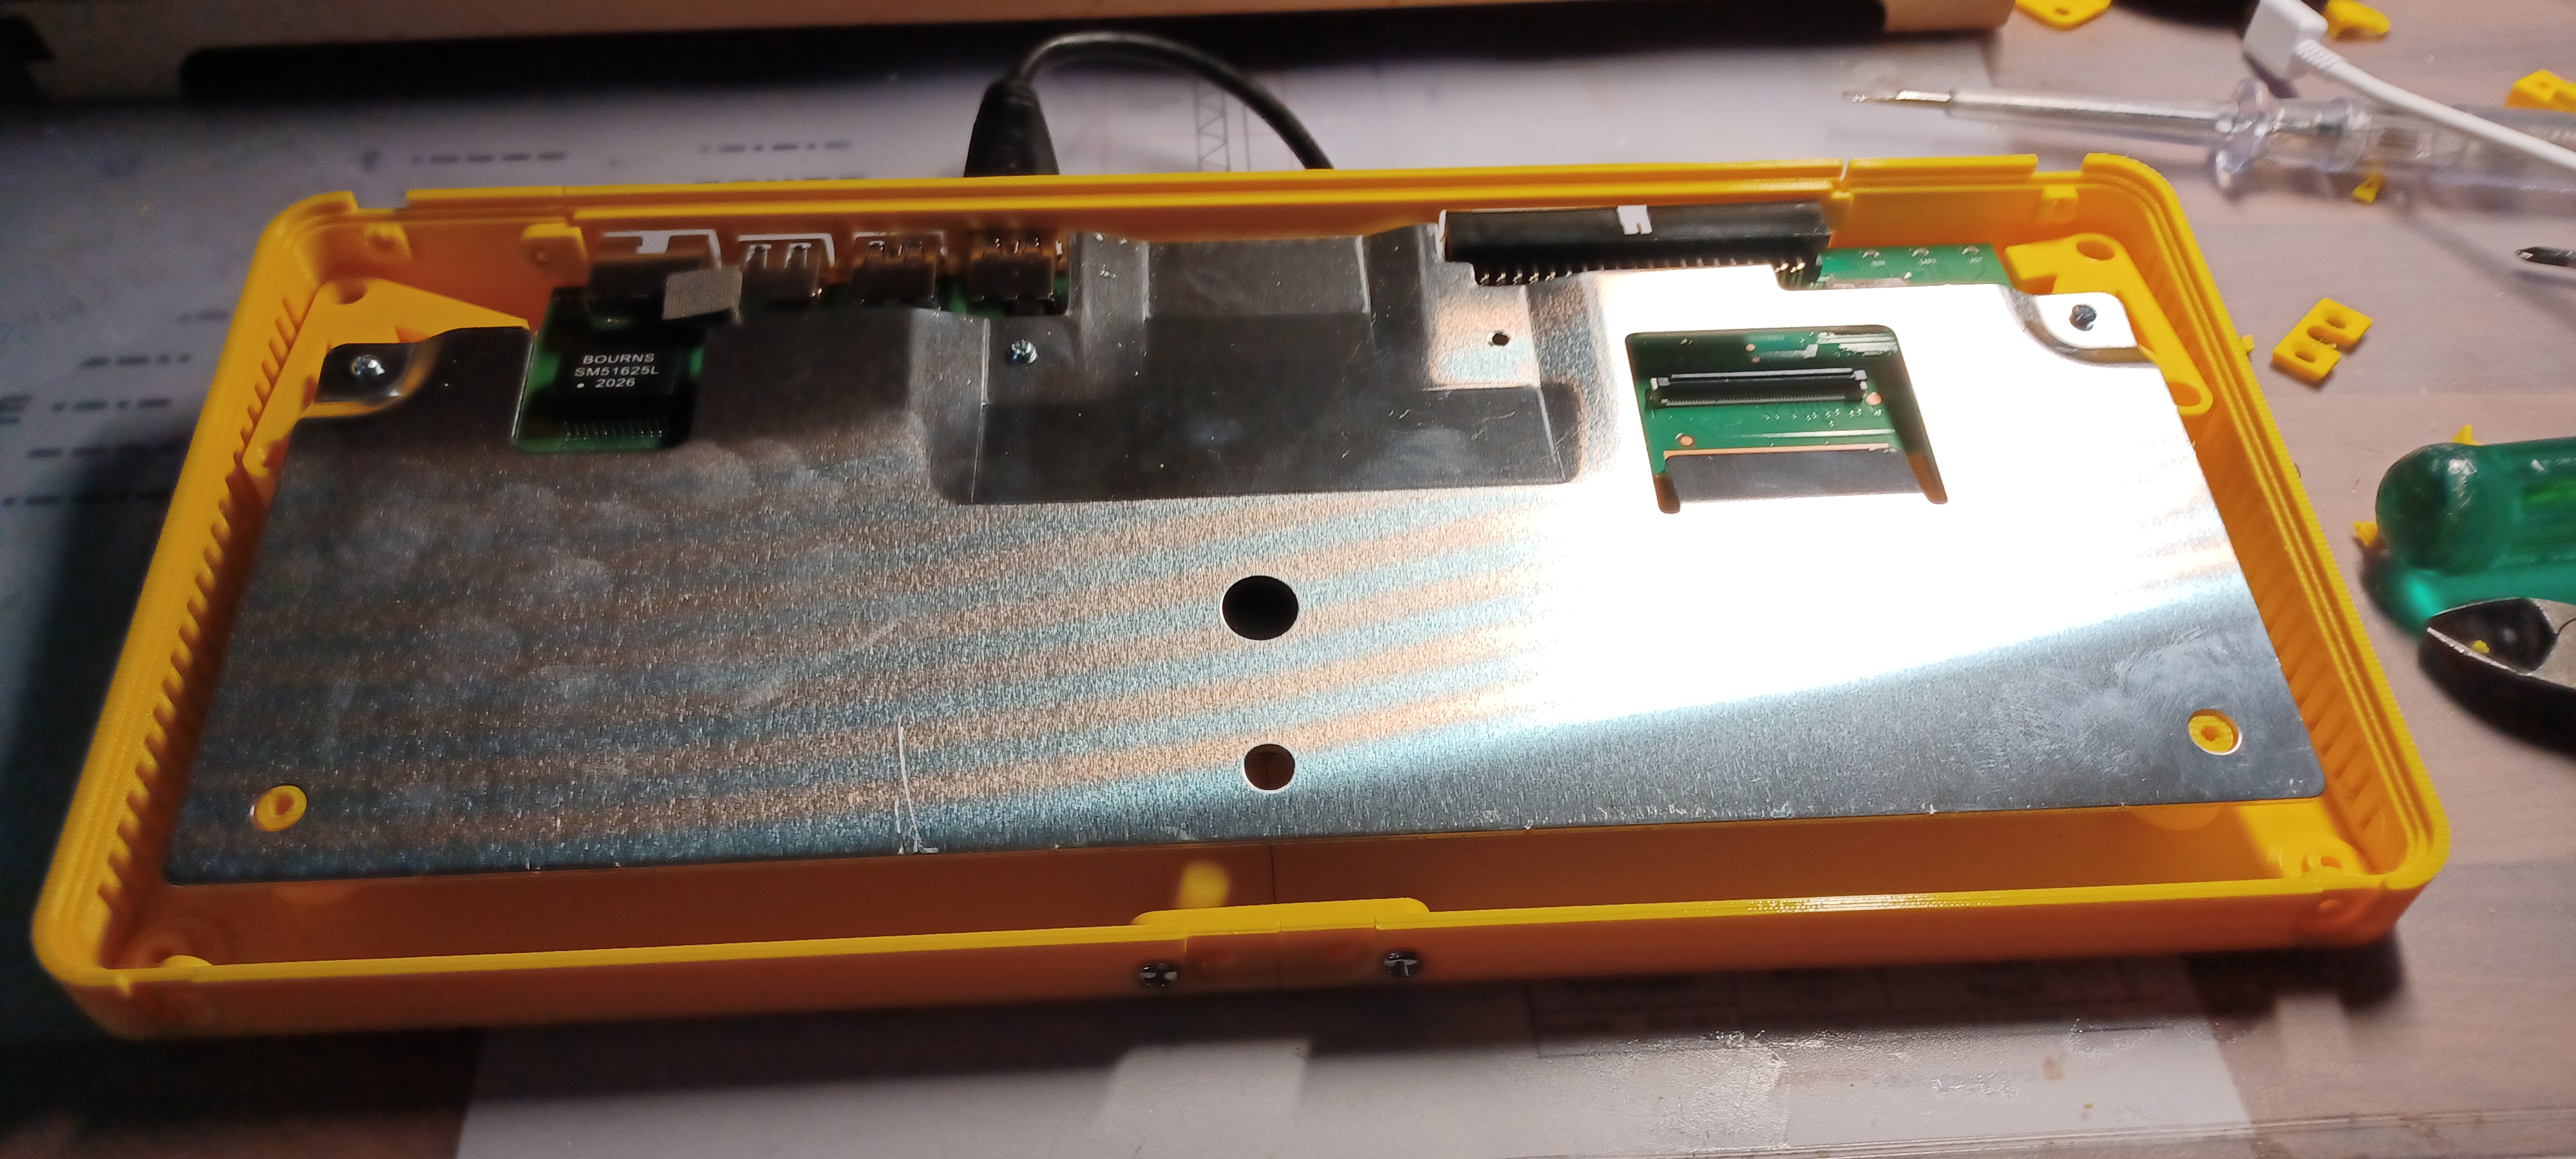
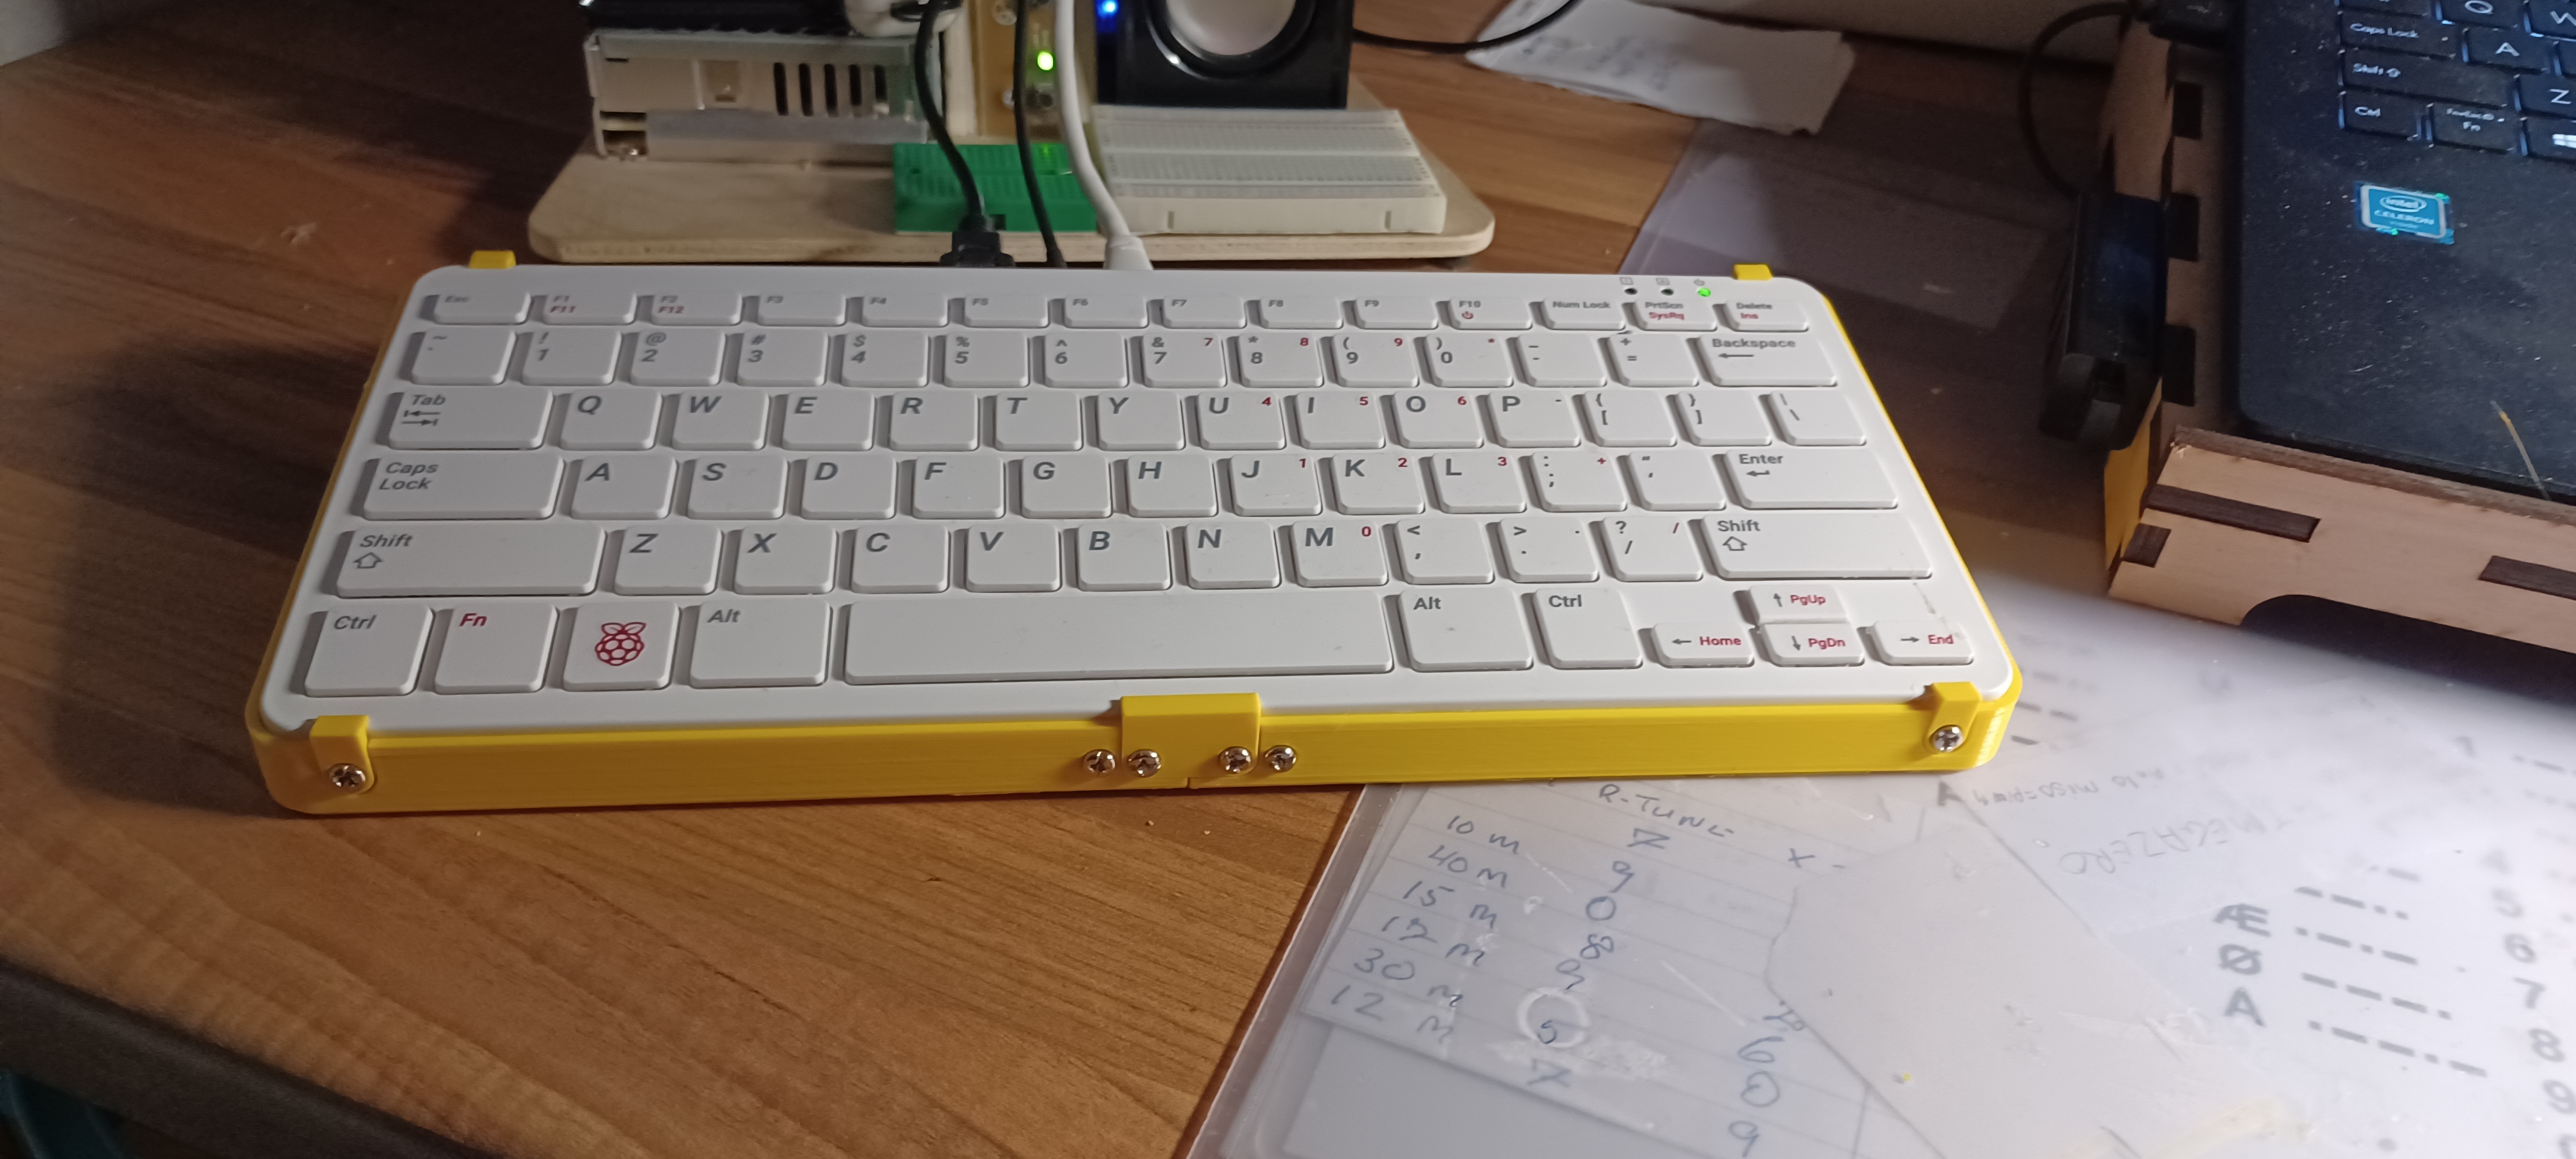
I didn't make the 3D drawings myself, found it on this link Great work James..
hhttps://www.printables.com/model/264822-raspberry-pi-400-alternate-bottom-with-25-ssd-moun
<


